Imagine you are the organizer of a convention and that you have a large list of attendees. You want to create a button for each of them that is personalized. The process could be tedious.
This article will show you how to print and create button badges at scale: you will be able to make hundreds of them with the help of a button badge machine.
If you’re looking for a way to create personalized badges, you could use programs such as Photoshop. It is possible to import lists and work with Excel files to create your own images, at scale.
However, you could also use a free alternative, and maybe fastest, which is Python. Python has become one of the most popular programming languages in the world in recent years. It’s used in everything from machine learning to building websites, or even image design. It can be used by developers and non-developers alike. There are many fields where automation is being applied, and graphic design is also one of them, thanks to Python.
Here are the steps we will follow to mass create personalized badge designs:
1. Design a personalized badge with a free program such as Canva.com. This will be the base template for all other personalized badges. We will name it badge.jpg

badge.jpg
2. If you’re not familiar with Python, we recommend installing Anaconda. It will install Python and all the necessary packages for you, Jupyter Notebook, and other commonly used packages. You will find below a link to a tutorial explaining how to install Aanaconda on your computer.
https://openclassrooms.com/en/courses/2304731-learn-python-basics-for-data-analysis/6009031-get-started-with-python-and-anaconda
Once Anaconda is installed, launch Anaconda Navigator in your program list. You will have several applications as your disposal. The next step is to launch Jupyter Notebook.
3. One of the most popular open-source libraries for Python is Pillow. It is used for images. To use this library, you first need to install it on your computer. Once you are in Jupyer Notebook, run the following code to install the Pillow library:
pip install pillow
4. Run the following code in Jupyter notebook.
height = 300
Where:
– badge.jpg corresponds to the template of the badge (see above). Place it in the same directory you are working
– width and height correspond to the size of the template image
– you can modify the font, change the size…
– names.csv is the file containing the names that are used for personalizing badges. Here, in this example it has the following structure:
“John”
“Yvonne”
“Jamil”
“Pearlie”
“Lizzie”
“Neva”
“Margaretta”
“Eulalia”
“Zackary”
“Madelyn”
“Lukas”
“Garrick”
“Anastasia”
“Wendell”
“Sasha”
You can create such a file with Open office.
You’ve done it! You now have the power to create customized images at scale. These images will be used as the artwork during the production of your button badges.
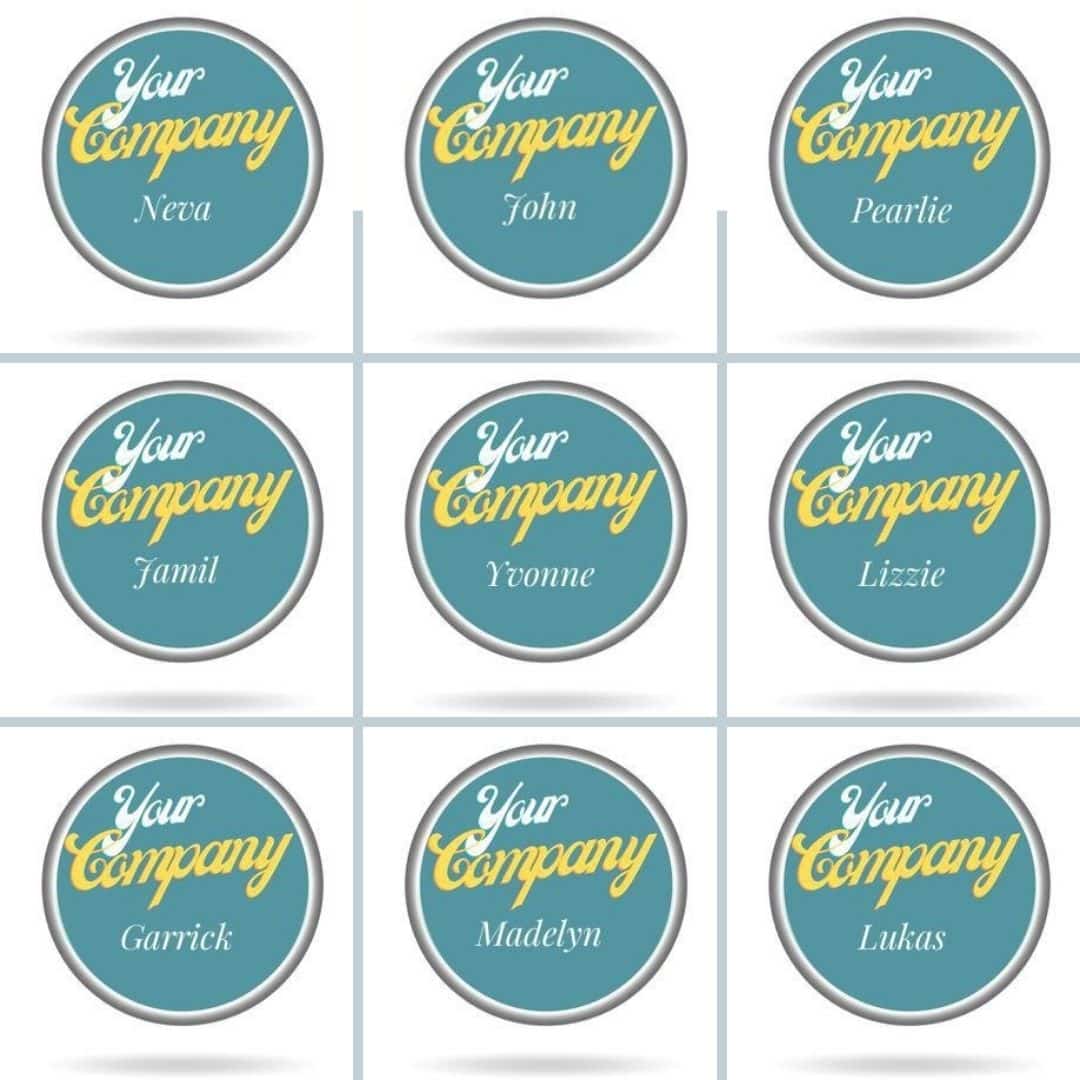
The badges designs below were made in less than a second. You will later have to print them, and then produce them with a a badge machine such as the Micro.
My goal in this article was to show that even if you don’t know how to program, you can complete simple tasks with a programming language such as Python.
If you want to make this tutorial better, or if you need some support, you can hire a Python expert. You will find them on sites like Upwork.
We hope this tutorial has been helpful.

Picture6

Picture7

Picture8

Picture9

Picture10

Picture11

Picture2

Picture4


