When it comes to selling your products online, the importance of fantastic photography cannot be overstated. Whether you’re selling badges you’ve made at home, handmade jewellery or arty prints, taking perfect photos of your crafts is essential to their success.
Particularly for small businesses and independent craft sellers, great photos are up there with the most important things you can do to boost your chances of success when selling online. They’re your opportunity to stand out from the crowd, appear really professional, and most importantly to make people stop scrolling and click on your items.
With so much to do when it comes to making and selling your products, it might be easy to see photography as a bit of an afterthought, but it’s an area you should definitely be spending a lot of time on.
Take a look through all the best sellers on sites like Not on the High Street and Etsy, and one common theme is excellent photography. So, when selling on sites like Etsy, bear in mind these basic pointers to ensure your photographs are tip-top. It’s not a detailed photography tutorial, but should help you understand the fundamentals!
Use a Decent Camera
Whilst this is becoming easier as smartphone cameras continue to improve, this simple and unsurprising first point is still worth stating – it’s surprising how many examples of photos clearly taken with rubbish cameras are out there!
You don’t need to use an expensive DSLR camera, but a good quality camera on your phone is a must. Avoid any blurring caused by shaky hands and use a tripod, whether for your phone or a camera.
Unsure if what you’re taking is up to muster? Take several test shots of your craft products and compare them to what competitors and established shops are doing. To get a more objective opinion, ask friends for feedback, or use the forums on sites like Folksy and Etsy to get honest feedback from those who’ve been in the same position as you.
Good Lighting is Essential
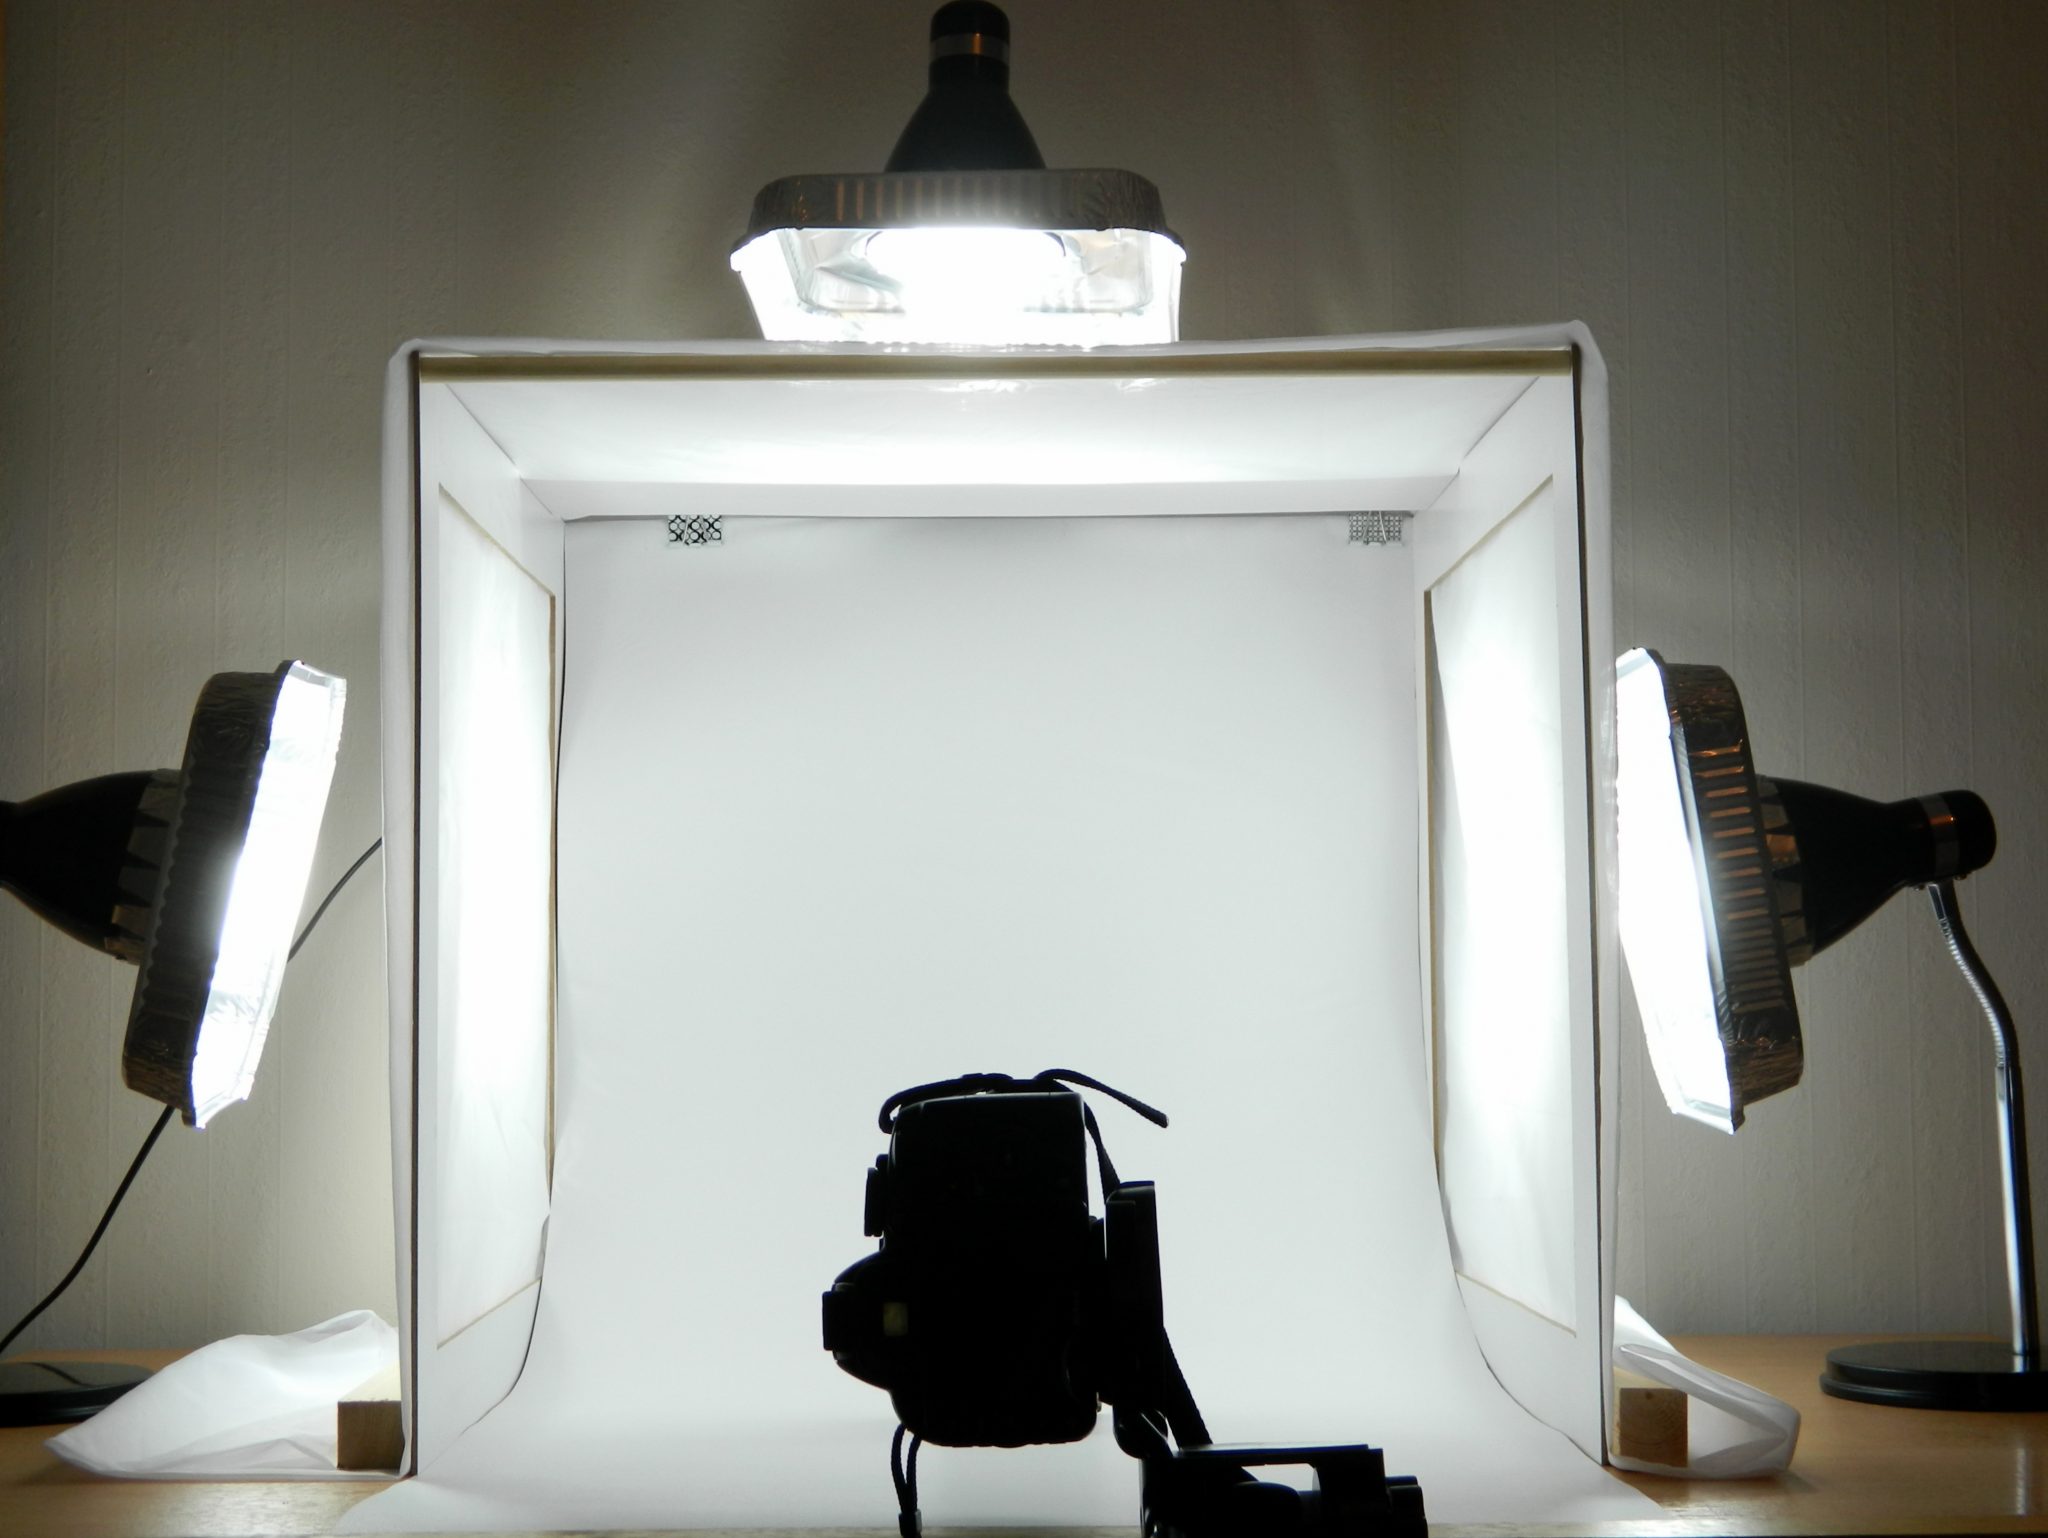
You don’t necessarily need to invest in costly equipment to achieve good lighting. It’s possible to build a lightbox to get your desired effect, and there’s loads of tutorials out there on how to do this cheaply and easily.
But Do remember that artificial light is hard to work with if you’re not an experienced photographer. Avoid using flash on your products as this will light your items harshly; instead, it’s best to take photos of your crafts outside and let natural light bring out the best in your products.
Avoid sunlight that’s too bright (which shouldn’t be a problem in the UK!) and ideally photograph on a cloudy day – the diffused light caused by the cloud gives you light that’s not too bright and so won’t be too harsh. If you’ve got a good amount of natural light inside your house, experiment with taking pictures indoors.
Setting
Don’t distract from your crafts with busy backgrounds. Again, unless you’re a skilled photographer, it’s difficult to compose pictures properly with props and effective backgrounds, so keep things simple.
For example, whilst it’s great to take photos outside, it could be distracting to have a full background full of colourful flowers. Instead, use a plain white background – check out this great blog by Folksy, which details how to achieve perfect white backgrounds.
Similarly, don’t use too many props. Whilst props can help tell the story of your products or your brand, as well as injecting a sense of personality, they aren’t essential. Use the wrong prop, or too many, and it can be confusing as to which item is your product.
If you’re unsure of what else to put in the photograph along with your crafts, the notion that simple is best often rings true!
Perspective
It’s worth taking several pictures from different angles, experimenting with a range of perspectives. You need to find the most flattering angle in order to show the best of your products, so get a big collection together and see what works!
It’s crucial that your photos are detailed enough to allow your customers to fully understand your products. Get some close-up pictures, but also some from a distance to give a sense of perspective and size.
Browse even something as simple as badges on Etsy, and you’ll still see a range of perspectives and great creativity in how the products are displayed!
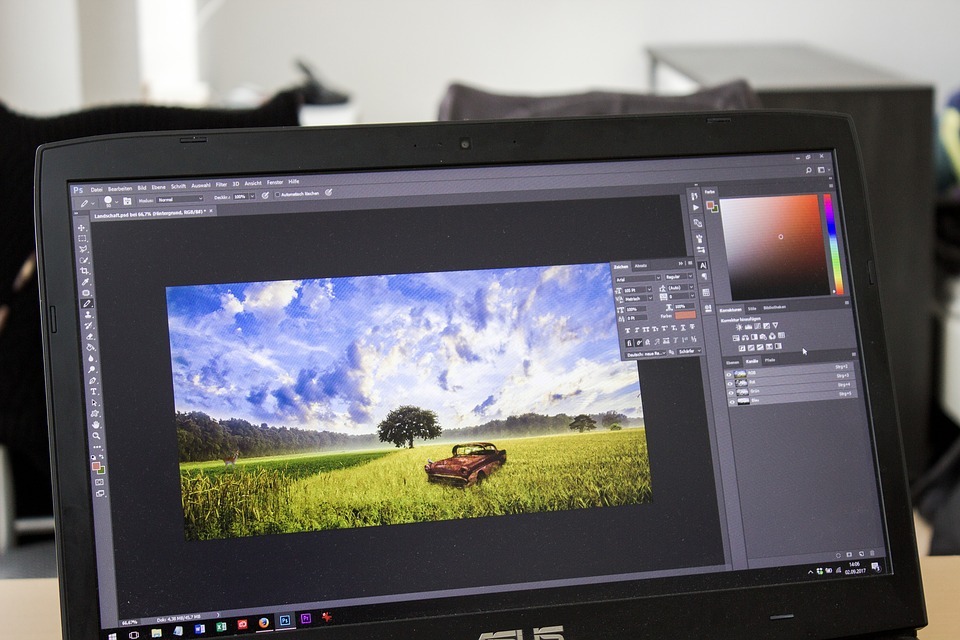
Don’t Forget to Edit!
Editing photos is a must, so it can be useful to learn how to use editing software. Alternatively, just use an editing app on your phone, many of which are very cheap if not free! This’ll allow you to crop photos so that your crafts are centre of attention, or to brighten up your items and bring out the colour by adjusting the light levels.
Once you’ve established what works well for you, make your life easier and use the same set up every time. Not only will this save you time, but it’ll also ensure consistency across your product range.
With great pictures, you’re increasing the chances that your craft creations will be clicked on – and therefore sold!