Making your own earrings is a great way to add style to your jewellery box, create a thoughtful gift for a close friend or is an original way to launch new products if you are a professional artisan.
To make your own earrings all you need are a few supplies from a specialist shop, a badge making machine and components, and a desire to express your creative side. If you want to create earrings that will dazzle everyone, here are the steps to follow.
Making your own earrings has many advantages. Here are a few of them
- Create earrings for a specific event
- Innovate by creating personalised custom designs
- Create earrings in a specific colour to match an outfit or occasion
- Handmade earrings are a great way to practice or learn a new technique before committing to a larger project
- Earrings make great presents. Make a few pairs to give to your friends.
- Add an earrings line to your product range if you are a retailer and increase your sales.
Necessary supplies
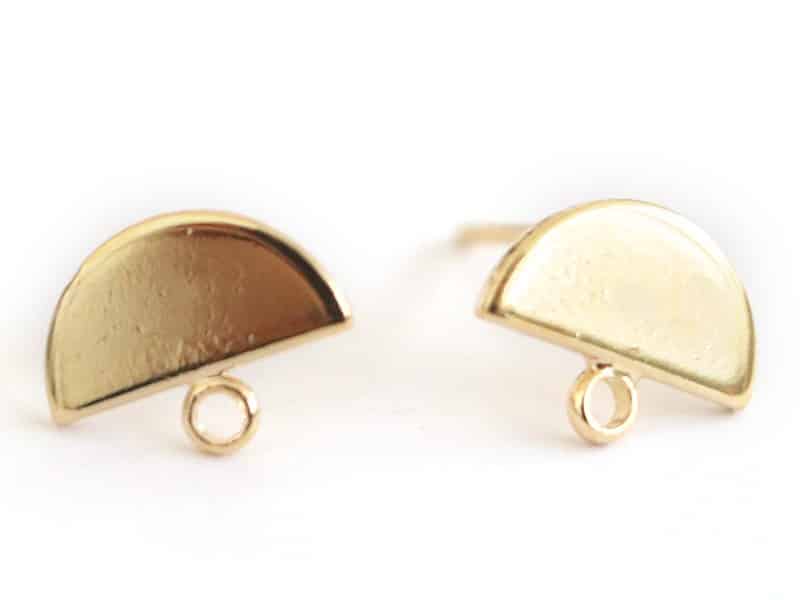
For each project, in addition to the supplies needed to manufacture the decorative element of the earring, here the badge, you will also need ear studs with tip. You can find them in your local craft store and online.
la-petite-epicerie.frcreavea.
commateriel-bijoux.fr
You will also need:
- Cleaning alcohol
- Glue
Making
Disinfect the hooks of the earrings. Carefully wipe the hooks with disinfectant. You will need to take this precaution before you start wearing the earrings.
Use badges to make your earrings
Choose your design
You can view the videos edited by Ebadges to better understand the badge making process. The first step in the badge making process is to choose a design for your badge.
You may like the idea of drawing freehand, but you can also create your own designs using tools such as Adobe Photoshop or Illustrator for a more professional look, or use online services such as Canva.
You don’t need a special printer to print your design, but make sure you use high quality inkjet paper (not photographic paper!) to get the best quality finish.
Step 2: Cut out your creation
Now that you’ve created your design, you need to make sure it’s the right size for your badge. You can use a special cutter.
You will also need a plastic circle that will form a protective layer on top of your design. It must be the same size and you only need one circle per badge.
Step 3: Make your badge
You will need a badge machine for this!
A badge making machine consists of two moulds called “dies”. The first die is used to press the three elements of the badge together and the second is used to attach a safety pin or clip to the badge.
First place the metal part of the badge in the die, then the image of your badge and finally the clear plastic on top. Once these three elements are placed in the matrix, in the correct order, push down firmly with the lever to press them together and to make your badge.
![]()
The finish
Attach the badges to the studs with strong glue, and your earring is ready. With a badge making machine you can make several dozen earrings per hour at low cost.