How to Make Your Own Pin Badges at Home
Pin badges are easy to make and are a great way to personalize an outfit, a bag or pretty much anything else. They also make wonderfully unique gifts for friends and family.
When it comes to badge making, the possibilities are endless! If you’re interested in learning how to make your own pin badges at home, take a look at our handy step-by-step guide.
If you’re new to badge making, why not invest in a starter kit that contains all the tools you’ll need to get started.
Before you start making your badges, make sure that you’ve read the instructions provided with your badge maker, or watch our simple YouTube video demonstration.
You will need:
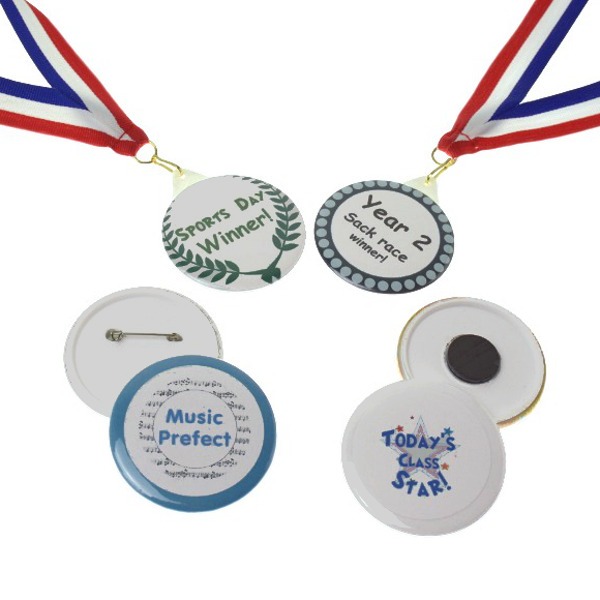
- A badge maker
- A metal front
- Pre-cut paper circle
- Pre-cut plastic film circle (mylar)
- Pin for your badge
- A plastic or metal badge back
Step 1: Choose your design
The first step in the badge-making process is to choose a design for your badge.
You may love the idea of drawing a design freehand, but you can also create your own designs using tools such as Adobe Photoshop or Illustrator for a more professional look.
You don’t need a special printer to print out your design, but make sure that you use high-quality inkjet paper (not photographic paper!) for the best quality finish.
Step 2: Cut out your design
Now that you’ve created your design, you need to make sure that it is the correct size to fit your badge. You can do this by using our online template.
In addition, you’ll need a circle of plastic which will form a protective layer on the top of your design. This needs to be the same size and you only need one circle per badge. Luckily, if you use Ebadges this comes ready, cut to size.
Step 3: Make your badge
Now that you’ve cut your design down to the right size, you can get ready to make your badge!
A badge maker consists of two moulds known as ‘dies’. The first die is used to press the three elements of the badge together and the second is used to attach a pin or safety clip to the badge.
Place the metal component of the badge in the die first, followed by your badge design and then the clear plastic on top. Once these three elements have been placed in the die in the right order, push down firmly with the lever to compress them together to make your badge.
Now that you’ve made your badge, you can repeat the process using the second die to attach a pin or an ultra-safe clip to your new badge.
How to wear pin badges:
How you choose to display your new pin badges is up to you, but here are some of our favourite ways to accessorise with pin badges:
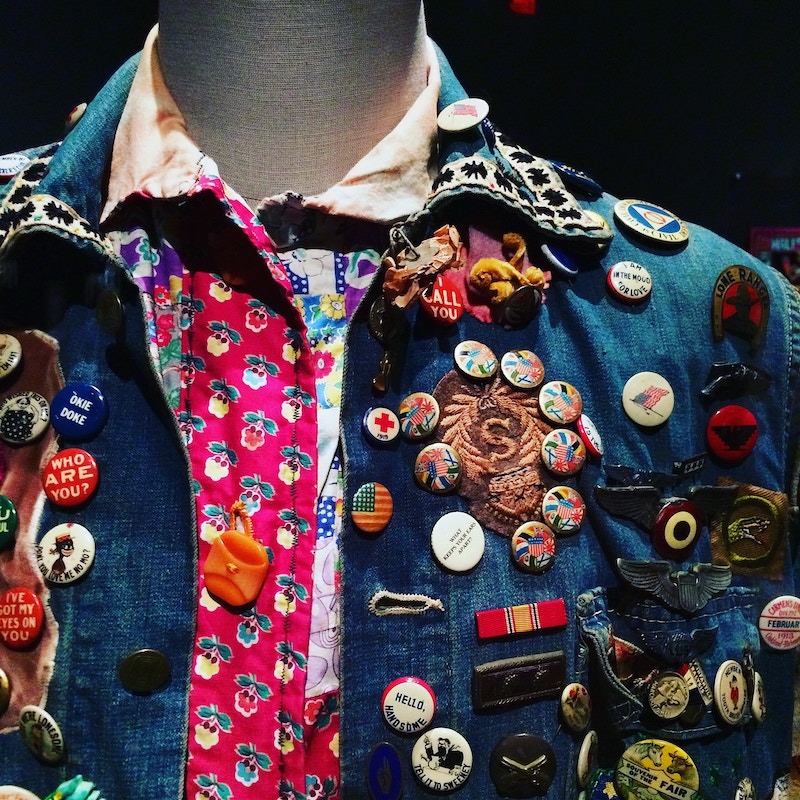
- Accessorise the lapels of your favourite denim or leather jacket.
- Use to add personal touches to a bag or suitcase.
- Use a pin badge to hold your scarf or tie in place.
- Jazz up a hat with some funky pin badges.
- Use your pin as a necklace pendant.
We hope you enjoy making and wearing your new badges. For tips and advice on how to use your badge maker, check out our FAQ’s.